Introduction
1. Prepare Your Portfolio List View
Navigate to the Portfolio List View.
- Use filters to display only the projects you want to include in the presentation (e.g., add the “Project name” filter and select your desired projects).
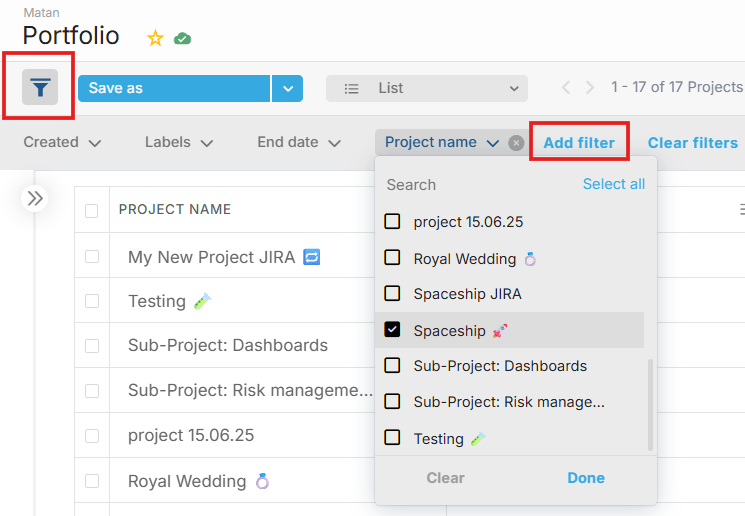
Keep in mind that all listed projects will be exported to the same PPT file, but displayed on separate slides.
- Add any relevant columns that you want to export by clicking the eye icon and selecting Show/Hide columns (e.g., remove “Tags” and add “Priority”).
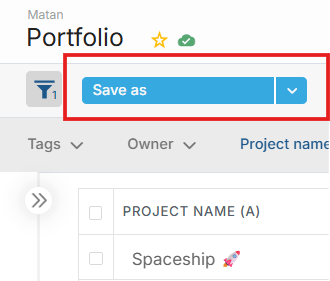
- Click Save as to save this view for future usage.
- Click the eye icon again and enable Show Column Letter

each column header will now display a letter (A, B, C…).

2. Start the Export Process
- Click the Share icon
- Select Export and then select Presentation.

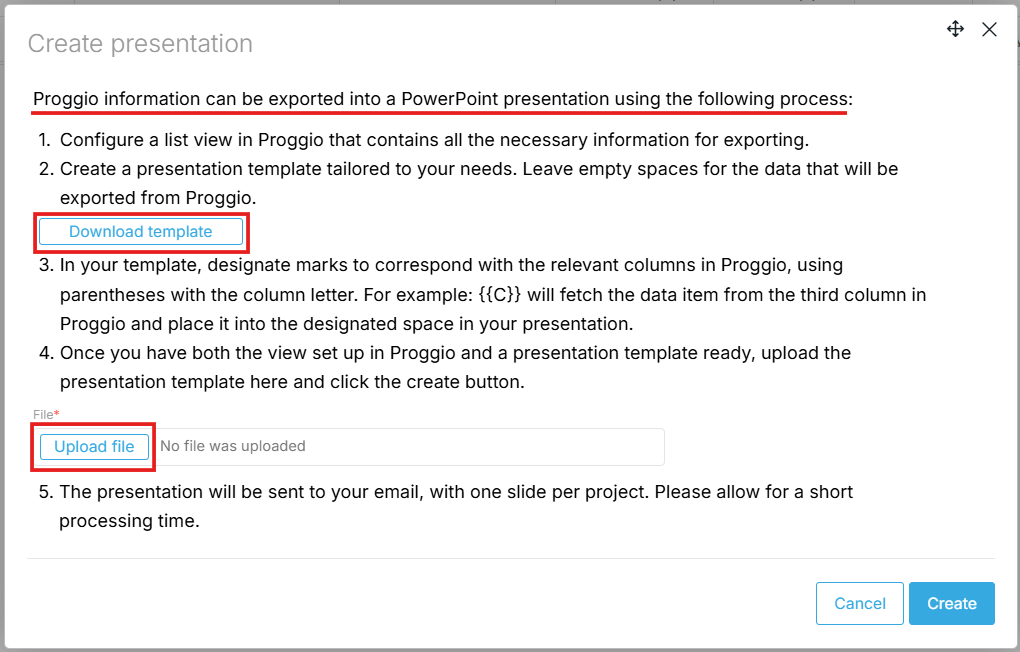
- In the Presentation window, you will find:
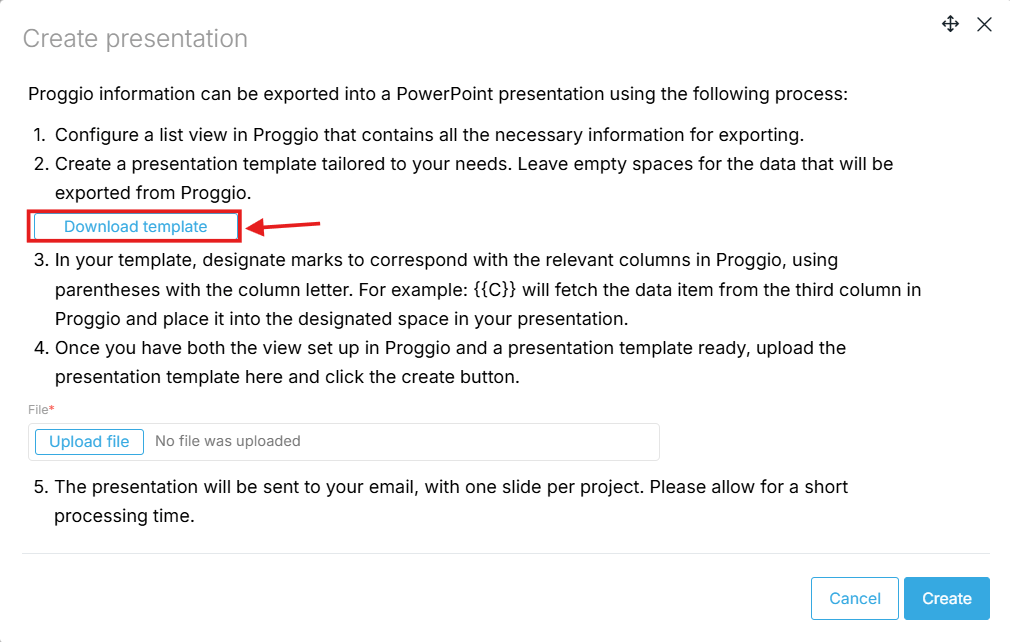
- A downloadable Proggio PowerPoint template you can configure and customize.
- A guide explaining the configuration process.
- An option to upload your own template once it’s ready.
3. Understand Column Letters in Templates
Column letters allow you to map your portfolio data directly into your PowerPoint slides.
Example: If you want the data from column B, simply insert {{B}} in your PowerPoint template, where you want that value to appear.
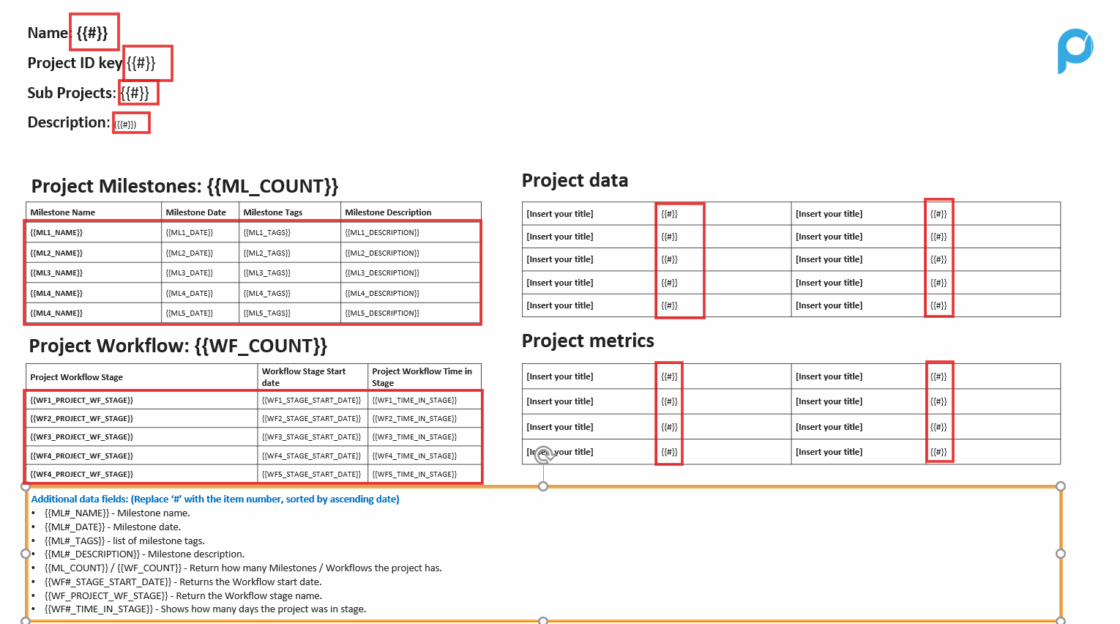
4. Use Special Data Fields
In addition to column letters, you can use special placeholders to insert detailed project information.
Replace # with the item number (sorted by ascending date).
Available fields:
- {{ML#_NAME}} – Milestone name.
- {{ML#_DATE}} – Milestone date.
- {{ML#_TAGS}} – List of milestone tags.
- {{ML#_DESCRIPTION}} – Milestone description.
- {{ML_COUNT}} / {{WF_COUNT}} – Number of milestones / workflows in the project.
- {{WF#_STAGE_START_DATE}} – Workflow start date.
- {{WF_PROJECT_WF_STAGE}} – Workflow stage name.
- {{WF#_TIME_IN_STAGE}} – Number of days the project was in that stage.
4.1 Numbering Milestones and Workflows
- Milestones: Sorted by date.
Example: If there are 5 milestones and you want the last milestone’s name, use {{ML5_NAME}}.
- Workflows: First stage is 1.
Example: If there are 4 workflow stages and you want the days in the first stage, use {{WF1_TIME_IN_STAGE}}.
5. Create or Customize Your PowerPoint Template
Creating a PowerPoint template for your portfolio export is straightforward. You have two options:
5.1 Customize Proggio’s Template
- Download the default Proggio PowerPoint template provided in the Presentation window.
- Modify it to fit your needs :
- Insert the mapped column letters instead of the placeholder # (e.g., from {{#}} to {{C}}).
- Add or remove milestone/workflow stage tags as needed.
- Adjust the position of text boxes.
- Remove the “Additional data fields” section
- Update fonts, colors, and styles to match your branding.
5.2 Create Your Own Template from Scratch
- Open a new PowerPoint file.
- Insert placeholders using the column letters and special data fields (e.g., {{A}}, {{ML1_NAME}}, {{WF3_STAGE_START_DATE}}).
- Position and style these placeholders exactly how you want them to appear in the exported slides.
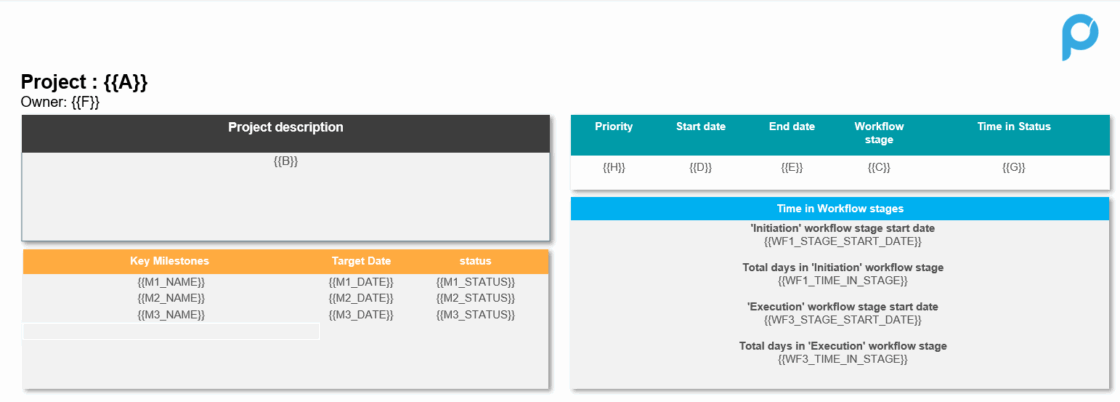
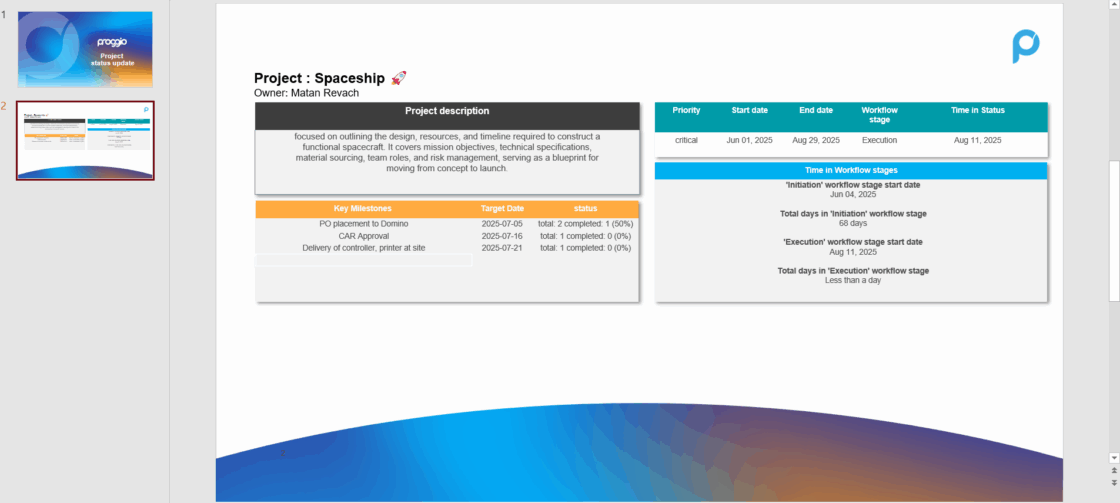
💡 Tip: Here is an example template I used to preview how extracted data will appear in a presentation.
Template:
This sample shows typical placeholders and layouts that work well for project data presentations.
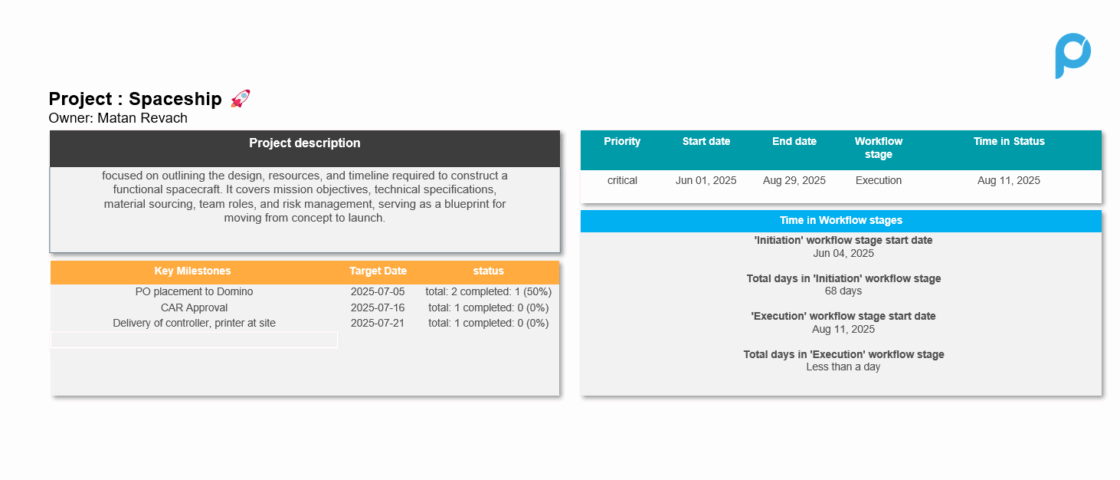
Extracted presentation:
6. Create the Presentation
- Upload your configured template.
- Click Create.
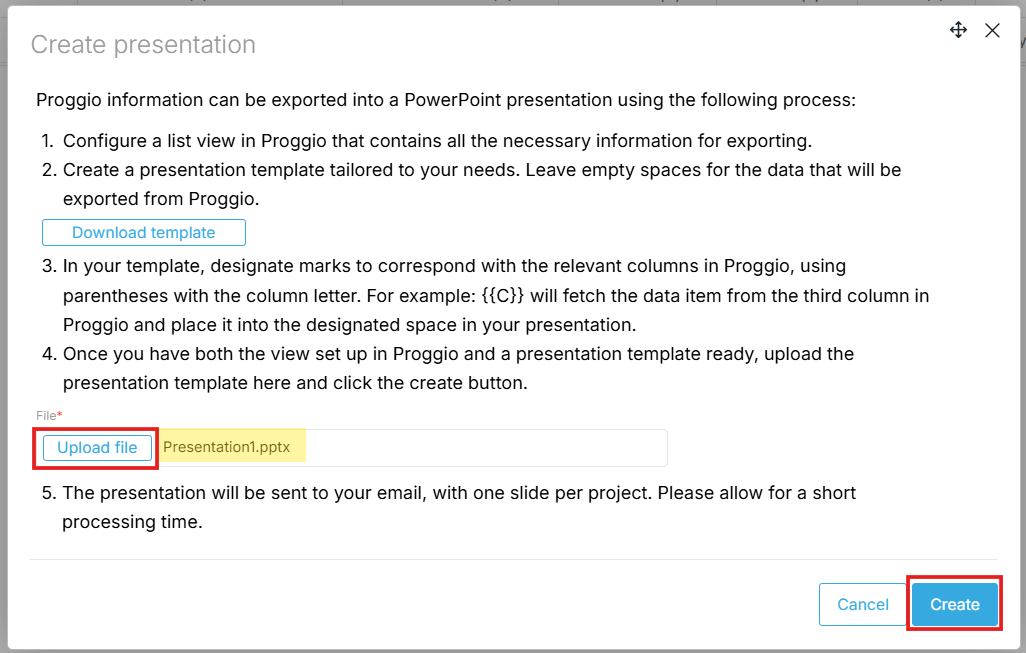
- A pop-up will confirm that your presentation is being prepared.
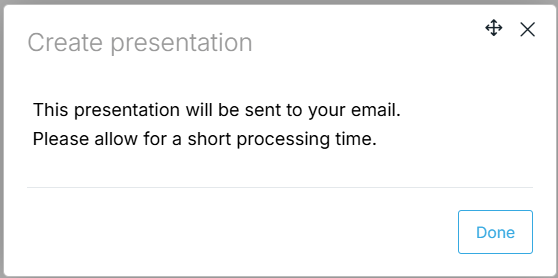
You’ll also receive an email confirmation
- Once ready, the presentation will be sent directly to your email address.
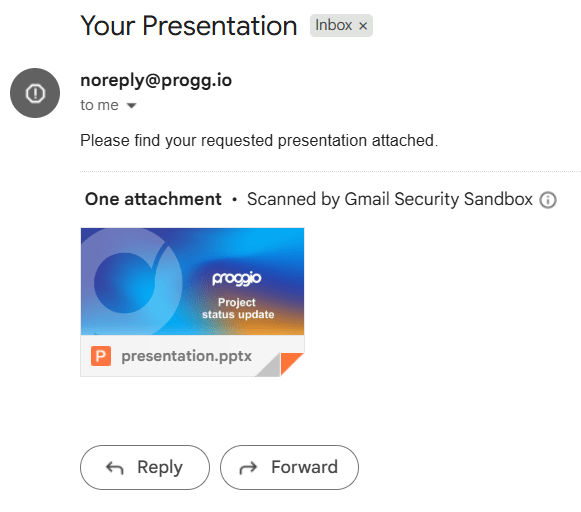
Open the attached PDF file to confirm the presentation was created successfully
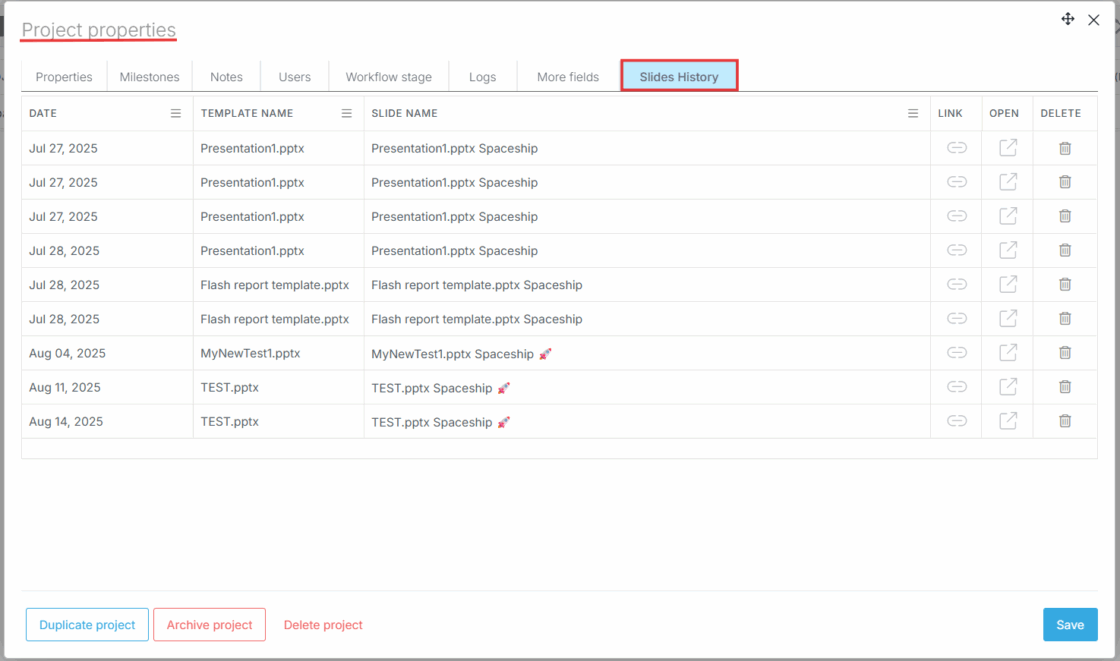
7. Viewing Past Presentations
To see all presentations previously created for a project:
- Open the project’s Properties.
- Switch to the Slides History tab to see all presentations generated for that project.
Need Help?
For more help, feel free to contact us anytime at [email protected].